Review of The Instant HP Portable Sprocket Photobooth
This post may contain affiliate links so we may receive compensation if you sign up for or purchase products linked to below. As an Amazon Associate, I can earn from qualifying purchases.
The HP Sprocket Photobooth Instant 3×4″ Color Photo Printer: Everything You Need to Know!
Say Hello to Your New Favorite Party Trick!
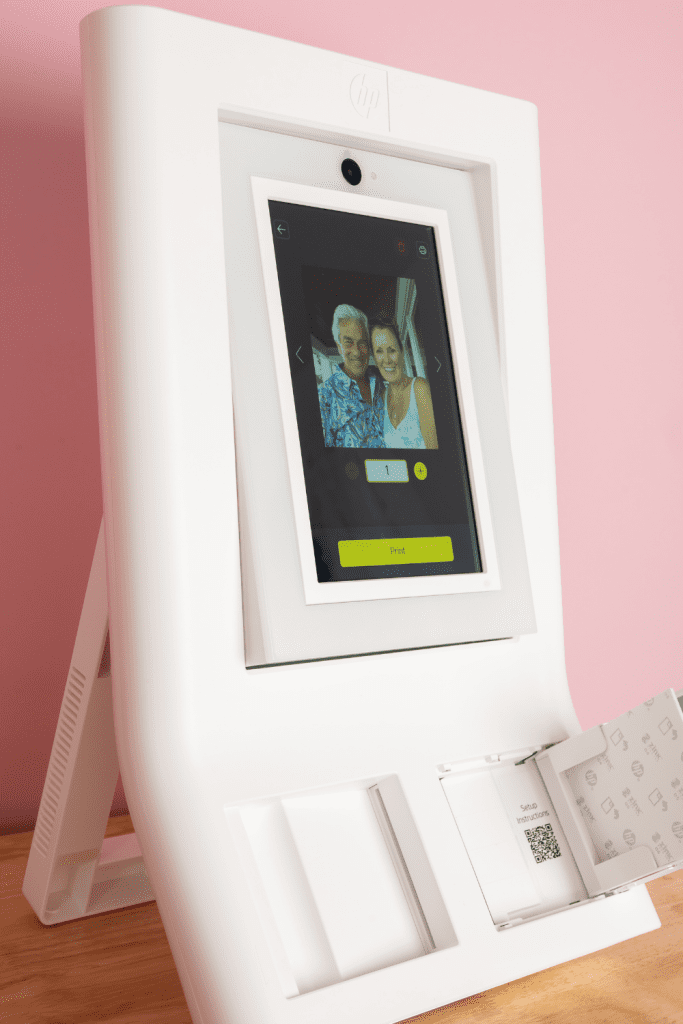
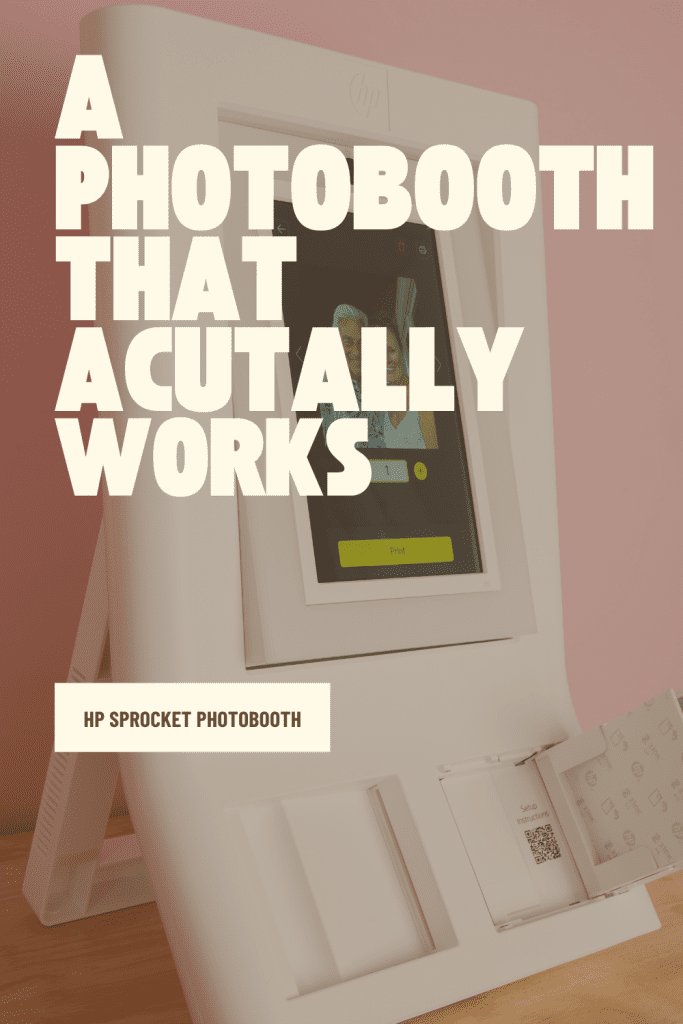
I do photo technology product reviews, and one of the questions I get asked most often is which printer works best for a photobooth setup. When I came across the HP Sprocket Photobooth Instant 3×4“, I got genuinely excited. It seemed like an obvious all-in-one solution with a built-in camera, rectangular LED light ring, flash, and printer in one tidy tabletop unit. Once I got my hands on it, I put it through its paces, both in studio testing and at a family reunion we were hosting. I have a lot of thoughts, and I hope you’ll stick around to hear them all!
A quick note about me and why I write these reviews: I have been a professional photographer since 2012, and I love bright, accurate colors. I am particular about quality and got tired of reading reviews that were never actually tested by the reviewer, relied entirely on stock photos of the product, and never compared anything to anything else. So I decided to start writing my own. Every product I review gets hands-on testing, and I spend hours putting this information together for you.
What Exactly Is It?
The HP Sprocket Photobooth Instant 3×4″ Color Photo Printer is a compact, portable photo booth unit featuring a touch screen display, built-in flash, ring light, and in-device memory that prints out fun 3×4-inch photos on the spot. No wires, no mess, and no ink cartridges to fumble with. Just tap, pose, and print! It has been a real hit at parties, events, and family gatherings because it gives guests keepsake pictures and something genuinely special in a world full of digital everything: a real, hold it in your hands, stick it on your fridge kind of photo.
The Specs: The Nerdy Stuff
Here’s a quick rundown of what this little photobooth packs under its hood.
Print Size
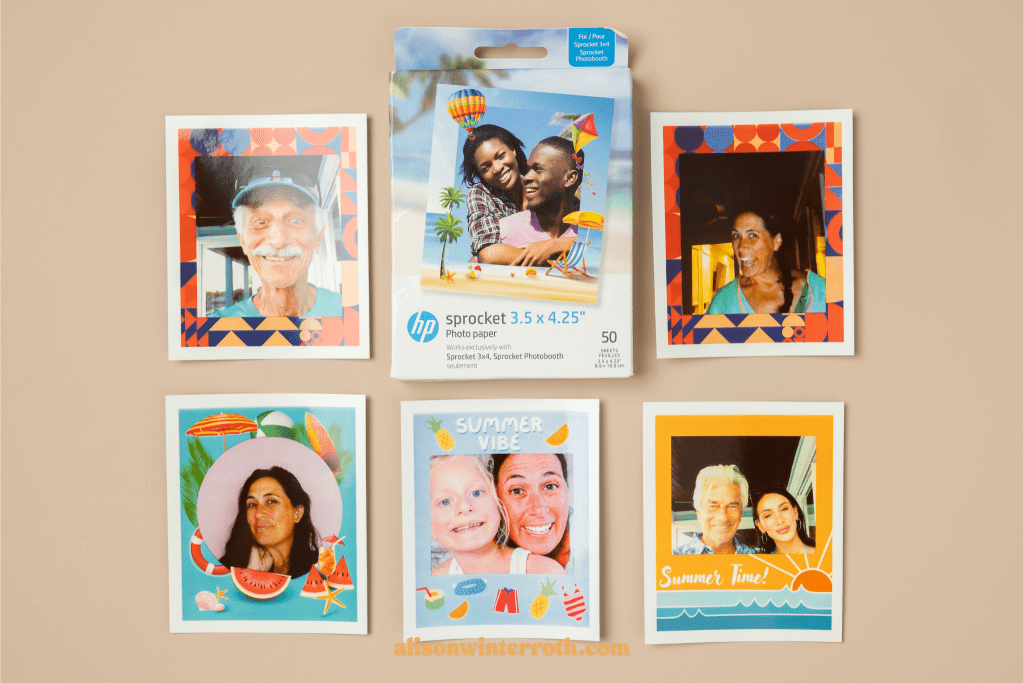
Each photo measures 3×4 inches, which is the perfect size for tucking into a wallet, slipping into a scrapbook, or decorating a bulletin board. Thanks to the adhesive backing on the paper, every print doubles as a sticker too!
Print Technology
This is where things get really interesting. The Sprocket uses ZINK Zero Ink technology, which means there are absolutely no ink cartridges involved whatsoever. We’ll explain exactly how this works a little further down, but the short version is: it feels like wizardry. Zink printers require a special paper that is designed specifically for this printer, which is worth knowing before you buy.
Resolution
The print resolution sits at around 313 x 600 dots per inch. It won’t replace your professional photographer, but for fun snaps, keepsakes, and party memories, it looks genuinely great.
Connectivity
The Sprocket can connect to the internet, but it is not strictly required. There is an option to send digital copies of photos to guests, and this feature does require a wifi connection to work in real time. If you are somewhere without Wi-Fi, the photos will save to the device’s internal 64GB of memory, and you can download them to your cell phone and share them on social media later. One thing I really appreciate is that everything can be managed directly through the device’s built-in screen without needing to rely on an app to run the show. The setup process is clear and intuitive. The first time I set it up, it couldn’t have been easier.
Power Source
The Sprocket comes with a power plug and international adapter options for travel. It is worth noting that this printer is not battery powered and does not have an internal rechargeable battery. For a device that is otherwise so portable and versatile, this feels like a missed opportunity. A built-in battery would make it truly portable and ready for any location.
App Support
The HP Sprocket companion app is available on both iOS and Android and is a handy companion for monitoring the printer’s status. It will send you notifications when paper is running low or if there are any printing issues, which is really useful during a busy event.
Additional Costs
There are no subscription costs, and the Sprocket App is free. Additional paper is the only ongoing cost associated with the printer.
How Does It Actually Work? The Science Behind the Fun!
Here is the part that genuinely feels like sorcery. The HP Sprocket uses ZINK Zero Ink technology, and it is pretty fascinating once you understand what is actually happening inside that little machine.
ZINK paper is not ordinary photo paper. It has tiny color-forming crystals embedded directly into its layers, specifically cyan, yellow, and magenta crystals that sit within the paper itself. When the paper passes through the printer, the thermal print head applies very precise amounts of heat to different areas. Different temperatures activate different color crystals, and by carefully controlling the heat across every single dot of the image, the printer produces a full color photo without using a single drop of ink.
The result is a photo that comes out completely dry, smudge-resistant, and ready to hold the moment it slides out of the printer. It really does feel a little like magic every single time.
How to Use It: A Step-by-Step Guide
Step One: Set Up the Photobooth
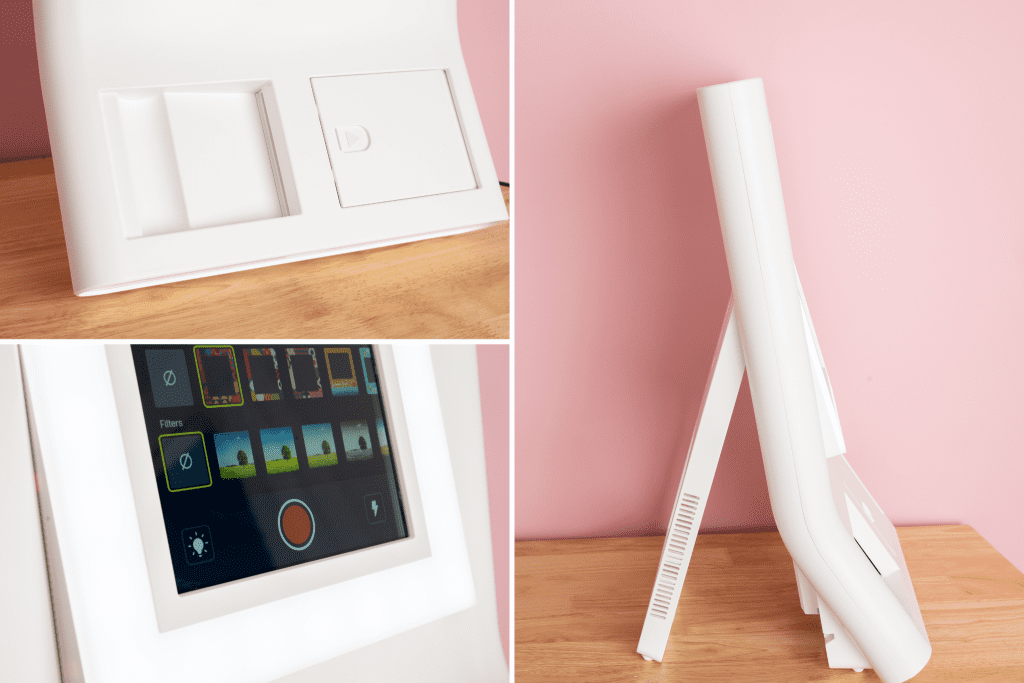
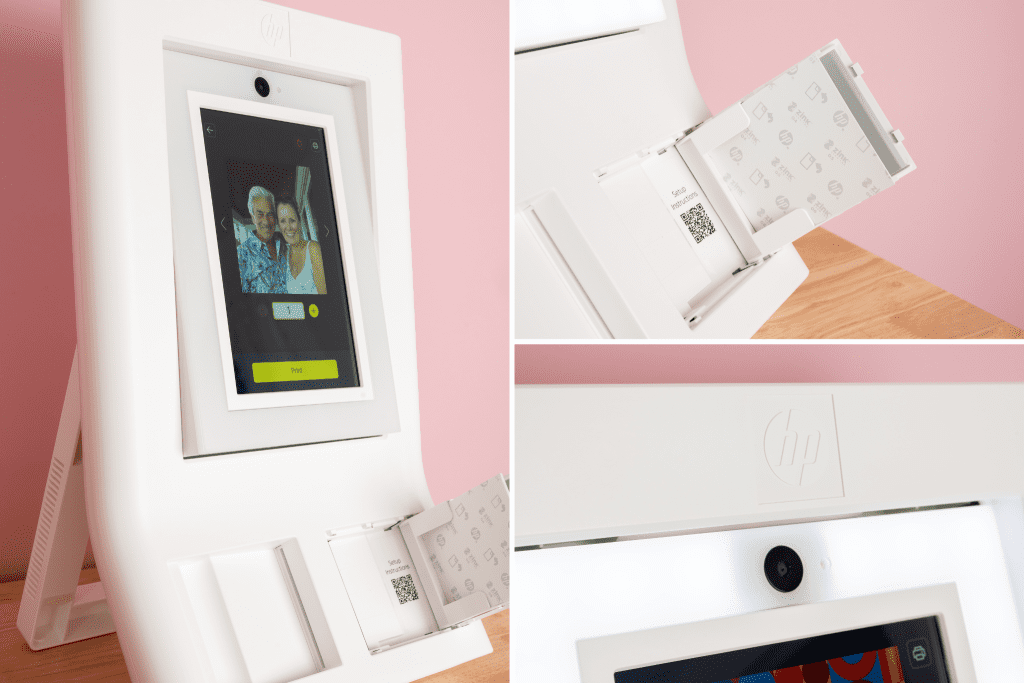
Find a great spot for your photobooth. It is genuinely versatile in this regard as it comes with a door mount, has a tabletop stand, or has a wall mount to add it directly onto a wall. I recommend choosing a location where the ambient light falls in front of or to the side of your subject, as the photobooth can struggle a little with strong backlighting. The screen also tilts so you can adjust the angle to suit guests of any height, which is a lovely touch. There is a power button on top, and once you press and hold, it will give you the next steps automatically.
Step Two: Pick Your Theme
Next up, you can choose the borders that guests will be able to select for their photos. There are hundreds of border options to browse through, including graduation, prom, beach themes, sports, colorful patterns, and even custom text. Every event I could think of was covered. You can activate as many border designs as you like, and guests can scroll through your chosen selection to find their favorite before printing.
Step Three: Customize Your Event
You will need to set up an event as a container for all the settings tied to that specific occasion. I created one for my family reunion and found that naming the event and adding the date was a great way to keep everything organized, especially if you plan to use the photobooth regularly.
Step Four: Decide How Many Prints
For both budget and time management reasons, you may want to put a limit on how many prints each guest can make. As the admin, you can control the number of allowed prints per session as well as whether guests are permitted to save digital copies of their photos to their own devices via a QR code.
Step Five: Set an Access Code
To keep your event settings safe from accidental changes, you can set a four-digit access code. This code can be updated between events, which is a handy little security feature.
Step Six: Load the Paper
Open your pack of HP Sprocket ZINK sticky-backed zink photo paper and load the sheets into the paper tray, making sure they sit correctly as the instructions indicate. You can load up to three packs at once for a total of 30 prints, which is great for keeping the fun going without constant restocking.
Step Seven: Download the App
Head to the App Store or Google Play and download the free HP Sprocket Photobooth app to your mobile device. This will send you helpful notifications when paper is running low or if any printing issues come up during your event.
Step Eight: Take Your Photos
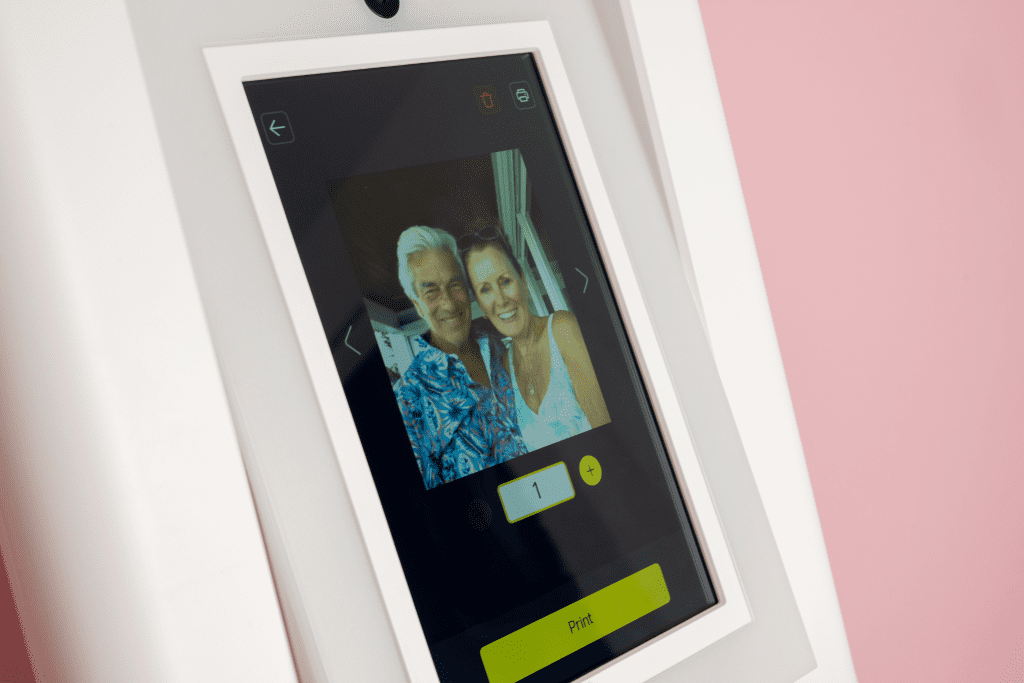
Choose a border, strike a pose, and let the photobooth count you down. After the shot is taken, you can choose to retake it or go ahead and print photos. Printing takes about a minute, and the result is a crisp little photo with great image quality, ready to take home.
Step Nine: Peel, Stick, and Enjoy
The printer prints on sticky-backed paper. Simply peel off the protective layer and stick your photo wherever you like. A journal, a greeting card, a gift box, a vision board, the options are endless! Prints come out with a glossy finish and can be handled immediately.
Who Is the HP Sprocket Best For?
The range of uses for this photobooth is genuinely impressive. School dances, a birthday party, family reunions, weddings, workshops, corporate events, and everything in between would all benefit from having one of these set up in the corner.
What I love most about the Sprocket Photobooth is how easily it can be set up almost anywhere and how effortlessly it runs. I had zero printing issues either during studio testing or at my family reunion, where we ran through about 20 prints in a row without a hitch. The setup process is refreshingly intuitive as well. I was able to configure a full event without ever opening an instruction guide. The device walks you through each step on screen clearly and simply. Even better, guests were able to use the photobooth entirely on their own without any help or direction from me, which is exactly what you want at a busy event.
The Drawbacks: Keeping It Real
It wouldn’t be an honest review if I only talked about the things I love. Here are a few things worth considering before you buy.
Print Quality Has Its Limits
The Sprocket is fantastic for casual fun photographs, but the photo quality is not going to compete with a professional photo lab or a high-end inkjet printer. If you are after sharp, detailed portrait prints or anything in a larger format this is not the right tool for that job. For spontaneous party photographs and joyful event memories, though, it is absolutely perfect.
You Are Tied to Sprocket Paper
For best results you need to use HP Sprocket ZINK paper specifically, which means you cannot simply pick up any photo paper at the store and expect it to work. That said, this is true of most dedicated photo printers as proprietary paper is pretty much the industry standard. Keeping a few spare packs on hand is always a wise move when you are heading into an event
Additonal memory
There is no place for an SD card, so there is no way to add additional memory.
No Internal Battery
As mentioned earlier, the lack of a rechargeable internal battery is probably my biggest gripe with this otherwise fantastic device. It needs to be plugged in to work, which limits the locations where you can truly go cordless. For a unit that is this versatile in every other way, a battery option would make it exceptional.
Tips for Getting the Best Prints
Good lighting makes the biggest difference so take a moment to find the best spot before setting up. I love that this photobooth can be positioned almost anywhere, which gives you real flexibility in finding a flattering background and light source. I personally keep the ring light turned all the way up as I find it gives the most flattering and even results. When using adhesive-backed paper, press the print down firmly onto a clean, flat surface to avoid air bubbles and get a smooth finish every time.
Final Thoughts
The HP Sprocket Photobooth Instant 3×4″ Color Photo Printer is a genuinely charming addition to any event or gathering. It is fun, refreshingly simple to set up, and has a wonderful way of turning any ordinary party into something a little more memorable. The lack of an internal battery is the one thing I would love to see improved in a future version, but everything else about this little machine is hard not to love. If you are looking for a photobooth solution that is easy, portable, and guaranteed to put smiles on people’s faces, the Sprocket Photobooth is well worth a look.
*Have you tried the HP Sprocket Photobooth? We would love to hear how you use yours! Drop a comment below and share your favorite Sprocket moments!*
It you want to see my reviews on some more of the other HP Printers, you can see them here or some of the best portable printers here.